How to Start an Indoor Herb Garden: Easy Garden Tips!
Learning how to start an indoor herb garden allows you to harvest fresh culinary greens year-round right from your kitchen counter. Cultivating your own culinary plants indoors eliminates reliance on expensive, plastic-wrapped grocery store produce that wilts within days.
Success indoors requires moving past common gardening myths and mastering foundational horticultural principles. By dialing in your light, airflow, and root zone mechanics, you can maintain vigorous, healthy plants in any living space.
Variety Selection and Core Differences
Indoor herbs generally divide into woody Mediterranean perennials and tender annuals or biennials. Mediterranean varieties like rosemary, thyme, and oregano thrive in drier conditions, while tender herbs like basil and cilantro demand higher moisture and warmth.
A widespread myth claims that herbs grow effortlessly in dark corners without sunlight. In reality, culinary herbs require significant photosynthetic energy and will quickly become leggy and weak without intense light.
- Basil requires warm ambient temperatures and high photosynthetic light levels.
- Rosemary demands gritty, fast-draining substrate and lower humidity.
- Mint thrives in moisture-retentive media but must stay in isolated containers.
- Parsley prefers cooler ambient temperatures and deep root accommodation.
Location and Soil Setup
Container gardening indoors demands a loose, premium soilless potting mix composed of peat moss or coco coir blended with perlite. You must strictly avoid using native garden topsoil or outdoor loam in containers because outdoor soil compacts rapidly in pots and harbors destructive pathogens.
Never place gravel or sand at the bottom of your containers under the false belief that it improves drainage. Horticultural physics shows this practice actually creates a perched water table, pushing saturated soil closer to root systems and causing root rot.
- Premium soilless potting mix containing sphagnum peat or coconut coir.
- Coarse perlite or horticultural pumice for enhanced root oxygenation.
- Containers with dedicated drainage holes to release excess moisture.
- Full-spectrum LED lighting positioned six to twelve inches above foliage.
Spacing and Planting Guidelines
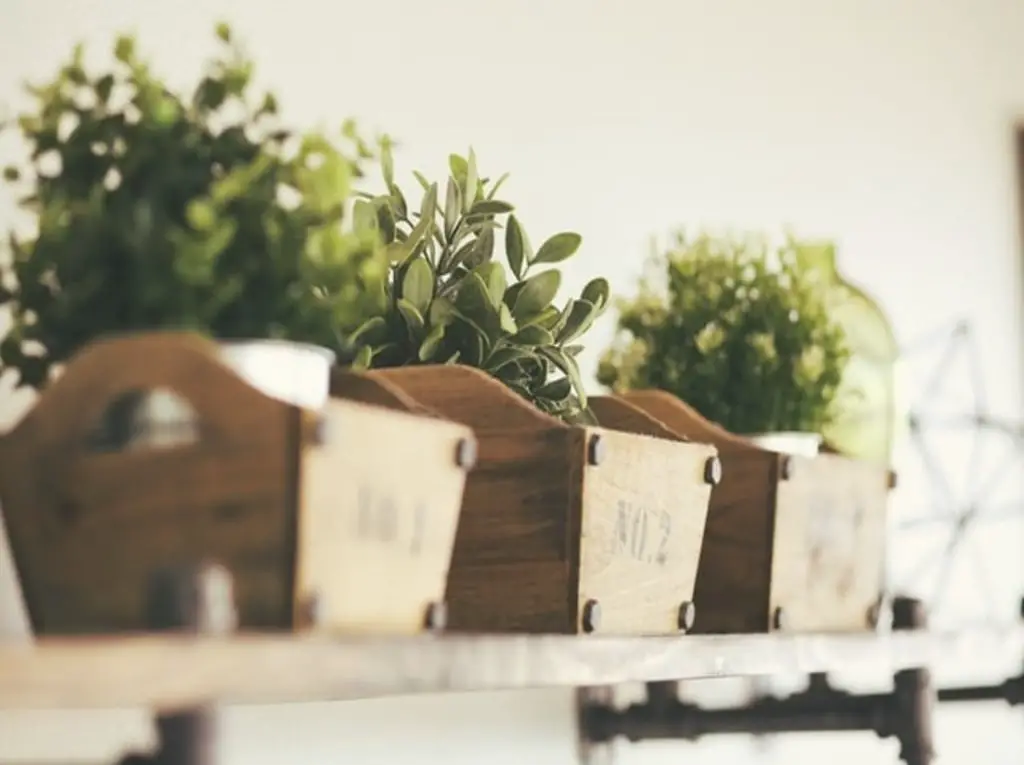
Give each herb species its own dedicated container rather than packing multiple varieties together into a single small planter. Separate pots prevent fast-growing species like mint from outcompeting and suffocating slower-growing companion plants.
Air circulation is critical in indoor environments where stagnant air promotes fungal blights. Running a small oscillating fan on its lowest setting keeps air moving across the foliage while gently stressing the stems, which stimulates thick, sturdy cell walls.
- Provide a minimum container diameter of six inches per plant.
- Maintain three to four inches of clear air space between separate pots.
- Position an oscillating fan nearby to circulate air and strengthen main stems.
Watering and Nutritional Protocols
Avoid watering your indoor herbs on a rigid daily calendar. Instead, check the moisture level of the substrate before applying water, giving the soil a deep soak only when the top inch feels dry to the touch.
Indoor plants consume nutrients quickly as water flushes through soilless media during irrigation. Supplement your plants with a balanced, half-strength organic liquid fertilizer every two to three weeks during active vegetative growth to maintain rich essential oil production.
- Check moisture depth using a digital meter or finger test before watering.
- Apply water directly to media until twenty percent drains from the base.
- Discard standing runoff immediately from drip saucers to protect root health.
- Apply balanced liquid kelp or fish emulsion diluted to half strength biweekly.
Harvesting and Storage
Contrary to outdated advice, you should always harvest leafy herbs before floral buds open. Once an herb blooms, the plant diverts its energy into seed production, causing the foliage to turn woody and bitter.
Sanitation is vital when processing fresh cuttings for culinary storage. Wash all freshly harvested leaves under cold running water and dry them completely using a salad spinner or clean paper towels to eliminate soil-borne bacteria.
- Cut stem tips directly above a node to trigger dual lateral branch development.
- Remove no more than one-third of the total foliage during a single pruning session.
- Wash harvested leaves thoroughly in cold water to clear environmental residues.
- Dry leaves completely with paper towels or a salad spinner before preservation.
- Freeze minced leaves in extra virgin olive oil inside ice cube trays.