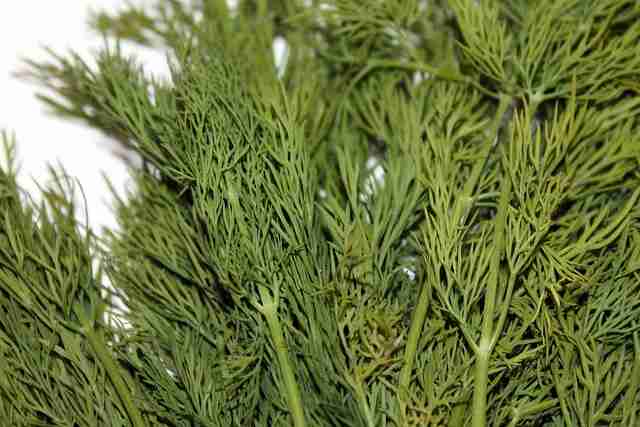
How to Grow Dill at Home? (A Simple Growers Guide)

Dill is a unique and tasty herb that can be used to add flavor to many dishes. It has delicate, lacy leaves and a mild, slightly sweet taste. Dill is often used for pickling, but it also tastes delicious when added to salads, fish dishes, soups, and stews.
The health benefits of dill are numerous – it’s rich in vitamins A and C, calcium, iron and magnesium, as well as antioxidants that help fight off disease-causing toxins in the body. Growing Dill at home is easy – all you need is some soil and plenty of sunlight.
Give your dill plants enough space to spread out, so they can reach their full potential. With just a little effort, you can grow fragrant dill year round in the comfort of your own home!
Table of Contents
- 1 How to Grow Dill at Home?
- 2 Frequently Asked Questions?
- 3 Should I soak dill seeds before planting?
- 4 Does dill plant spread?
- 5 Can you grow dill from a cutting?
- 6 Why does my dill keep dying?
- 7 How often do you water dill?
- 8 Does dill come back every year?
- 9 How long does a dill plant last?
- 10 How do you pick dill without killing plants?
- 11 Author
How to Grow Dill at Home?
Benefits of growing dill
Growing dill at home is a great idea because it provides you with fresh herbs that are readily available and cost-effective. Dill has a number of health benefits, including aiding digestion, reducing inflammation, and helping to prevent bacterial infections.
In addition, growing your own dill means you can enjoy the flavor of this wonderful herb in many different dishes. The plant is easy to cultivate and doesn’t require much maintenance. It’s also fast-growing, so you won’t have to wait too long before harvesting it for use in your cooking.
Plus, with its pleasant appearance and delicate aroma, dill adds beauty and fragrance to any garden or patio area where it’s planted.
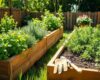
Choosing a location
Best location for growing dill
Finding the best location for growing dill is essential for a successful harvest. When selecting a spot, make sure to look for an area that receives at least six hours of full sun each day. Dill does not like shade and will become leggy if it does not receive enough sunlight.
Soil should be well-drained, enriched with compost or aged manure; dill prefers more nutrient-rich soils as opposed to dry, sandy ones. Watering should be done regularly to keep soil moist but not soggy; avoid overwatering, as this can cause root rot.
Additionally, add mulch or a layer of straw around the plants to help retain moisture and control weeds. With the right location and care, you can have a bountiful harvest of fresh dill!
Specific requirements for dill
When it comes to growing dill at home, it’s important to be aware of the specific requirements it has. Dill prefers a soil pH that falls between 6.0 and 7.0, so make sure your soil is within this range before planting.
To ensure successful growth of dill at home, use a sandy loam soil like FoxFarm soil which is rich in organic matter and has good drainage.
It also needs plenty of sunlight; aim for 8–12 hours per day if possible. As far as water needs go, keep the soil moist but not soggy—about an inch of rain per week should do the trick.
Fertilizing isn’t necessary since dill is a self-sowing annual herb, but adding compost or a slow-release fertilizer can help improve flavor and productivity.
If you’re growing in containers, use potting mix formulated specifically for herbs and vegetables and allow the top inch of soil to dry out in between waterings. With those simple requirements met, you’ll have fresh dill for all your favorite dishes in no time!
Growing in Pots
Recommended pots and planter for growing dill
When growing dill at home, planters can be a useful tool to ensure optimal growth. I have found that using planters like the Saratoga Home Herb Pots with Tray Set, Mindful Design LED Indoor Herb Garden and Classic Garden Planters have bee n effective when growing dill.
These planters can be purchased on Amazon and may be a good option to consider for your dill gardening projects. Personally, I use the Classic Garden Planters for my dill plants.
These planters are large enough to accommodate all herbs and have drainage holes on the bottom, making them suitable for both indoor and outdoor use.
Don’t waste any more time and money on ineffective planters, trust me and give these planters a try for a flourishing dill garden.
Preparing the soil
Preparing the soil for planting dill
Preparing the soil for planting dill is an important step in ensuring a successful harvest. Before sowing your dill seeds, it’s important to make sure to properly till the soil and add compost or fertilizer. Tilling should be done with a tiller or shovel, depending on the size of your garden.
It is essential to break up any clumps in the soil and break down larger chunks into smaller pieces. This will allow water and air to penetrate more deeply into the earth, giving your dill plants plenty of nourishment.
Additionally, adding compost or fertilizer can provide additional nutrients for your plants. Compost helps improve texture and drainage, while fertilizers add potassium, phosphorus and nitrogen that promote healthy growth and leaves.
When performing these tasks, take care not to over-till as this can disrupt existing beneficial microorganisms in the soil which help keep plants healthy.
Soil Maintenance throughout the growing season
Proper soil maintenance is key to successful dill growth. Make sure the soil you are caring for has the right pH balance, which should be between 6.0 and 7.5. To check your soil’s pH level, use a simple testing kit from your local garden center.
It’s also important that your soil has plenty of organic material such as compost or manure mixed in, as this will provide essential nutrients to keep your dill plants healthy and flourishing.
Throughout the growing season, it’s important to water your plants regularly, but do not overwater – about an inch of water per week should suffice for most plants.
Additionally, adding mulch around the base of your dill plants can help retain moisture levels in the soil, reducing evaporation from the sun and preventing weeds from growing nearby that would compete with your dill plants for nutrition and water.

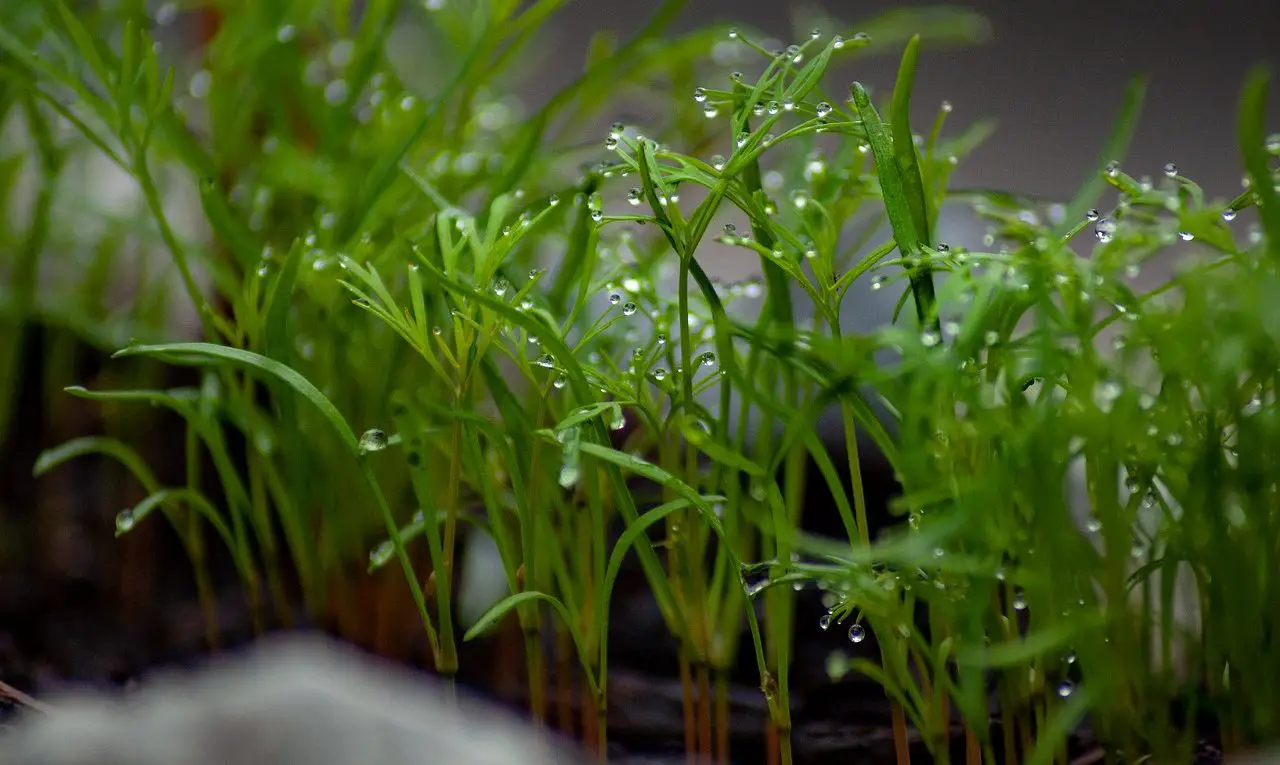
Planting and care
Best time to plant dill and how to do it properly?
The best time to plant dill is in spring, about four weeks before the last frost. It’s important to choose a sunny area with well-drained soil for your dill planting. In most climates, growing from seeds is the easiest way to get started.
Sprinkle the seeds thinly over the surface of the soil and press them lightly into place. You can also purchase seedlings if that’s an easier approach. If planting multiple rows or clumps, space them at least 6 inches apart; if planting individual plants, allow 12–18 inches between each one.
Make sure the soil is consistently moist until your plants are established; after that you can reduce watering, but be sure to water during drought conditions, as this will help produce more flavorful leaves.
How to care for dill?
Caring for dill is an essential part of growing this popular herb. Dill is a hardy, annual herb that grows best in sunny locations with well-drained soil. To get the most flavor and provide your plant with enough nutrients to thrive, be sure to water your dill regularly.
A good rule of thumb is to water when the topsoil feels dry – usually about once per week should be sufficient depending on conditions. Pruning is also important for keeping your dill healthy and productive.
Cut off any dead or wilting leaves as soon as you notice them; they can harbor pests and diseases which could spread to other plants nearby.
Additionally, it’s important to keep an eye out for common garden pests like aphids or white flies, so you can take action quickly if necessary.
Regularly inspect your plant for signs of distress and treat accordingly. With proper care, your dill will grow happily in your home garden!
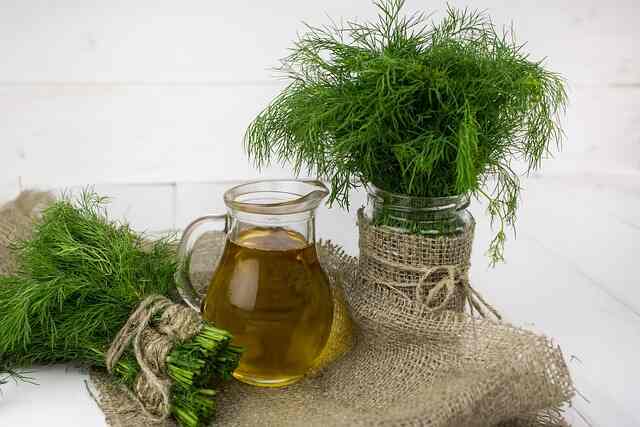
Harvesting and storage
Tips on when and how to harvest dill
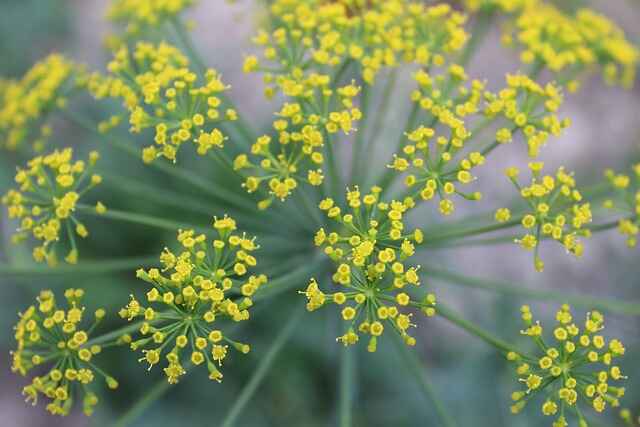
Harvesting dill is a great way to maximize your homegrown crop and have plenty of the fragrant herb on hand for cooking. The best time to harvest dill is when it starts to flower, which usually happens in mid to late summer. To harvest, simply snip off the top four or five fronds from the plant using scissors or kitchen shears.
Take care not to cut too close to the main stem so as not to damage the plant’s growth potential. Leaving some of the flowering stems intact will also help ensure that you’ll be able to collect and save some of the seeds for next season’s planting.
After harvesting, hang up bunches of dill in a dry, dark place with good air circulation where they can remain undisturbed and cure for several weeks before being used or stored away.
How to store dill properly?
Storing dill is easy and can be done in a few different ways. The best way to retain the most flavor from dill is by drying it. To do this, you can hang small bunches of the dill upside down in an area with good air circulation until the leaves are dry and crumbly.
After they have dried, store them in an airtight container away from light and moisture to prevent them from rehydrating. If you are short on time, another option is to freeze your dill, which will preserve it for up to 6 months.
Start by washing the herb and patting it dry, then either chop or leave the sprigs intact before spreading out over a baking sheet lined with parchment paper and freezing overnight. Once frozen, transfer into freezer-safe bags or containers and store until ready to use.
Companion Planting
Dill makes a great companion plant to cucumbers, onions, lettuce and corn. It keeps cabbage healthy.
Poor companions are tomatoes or carrots, angelica, bell peppers, eggplant, lavender, fennel, potatoes and caraway. Dill repels aphids and spider mites. This plant is a natural pest repellent.
Conclusion
Growing dill at home is a great way to add fresh, nutritious herbs to your meals. Dill is a versatile herb that adds an earthy flavor to many dishes, and it’s easy to grow in pots or directly in the ground. The best time to plant dill is in late spring, just after the last frost.
You can then transplant the seedlings into your garden or container when they’re 3–4 weeks old. When planting dill, ensure you pick a spot with plenty of sunlight and good drainage; waterlogged soil will damage your plants.
Fertilizing with compost or liquid fertilizer can help boost growth and harvest yields. Remember to regularly remove dead leaves and stems from plants so new growth is encouraged and pests are kept away.
With regular care, you can begin harvesting needles within 45 days of sowing seeds! Once harvested, use the needles in salads, soups, sauces, vinegar, butters and more for a tasty burst of flavor! So if you’re looking for an easy way to get more nutrition into your meals—why not give growing dill at home a try?
Frequently Asked Questions?
Should I soak dill seeds before planting?
Soaking dill seeds before planting is an excellent way to ensure the best possible germination rate. Soaking helps soften the hard outer shell of the seed, allowing water to penetrate and start the growing process.
To soak dill seeds, fill a small bowl with warm water and place the seeds inside. Allow them to soak for 12 to 24 hours before draining and transferring them to your garden or container. This allows you to start gardening more quickly as well as provide your plants with a head-start in growth.
Does dill plant spread?
Yes, dill does naturally spread by self-seeding when the flowers turn brown and drop seed into the soil. The seeds may germinate immediately or be stored in the soil until the next spring.
In addition, you can also propagate dill by dividing clumps as they sprout from existing plants. To ensure a steady supply of Dill throughout the year, sow a variety of cultivars every few weeks to stagger harvest times.
Can you grow dill from a cutting?
Yes, you can grow dill from cuttings! Cut off a few of the top sets of leaves and place them in a small container filled with lukewarm water. Change the water every day until you see new roots growing. Once you have good root growth, transfer the cutting to some potting soil and keep it well watered.
Dill likes full sun and regular fertilizing, so make sure to provide that too. With the proper care, your dill should be ready for harvest in just a few weeks!
Why does my dill keep dying?
If your dill keeps dying, it could be a result of a few different factors. The most likely cause is improper watering. Dill needs to have evenly moist soil, not overly saturated or dry.
Make sure you check the moisture level in the soil often and give additional water as needed. Additionally, Dill prefers full sun – make sure that your plant is receiving at least 6 hours of direct sunlight per day.
Lastly, if the temperature in your area drops below 50° F (10° C), consider moving your dill indoors for better protection from cold temperatures. If you follow these steps, you should see an improvement in your plant’s health!
How often do you water dill?
When growing dill at home, it is important to ensure that the soil remains evenly moist. Depending on your climate and other environmental factors, you should water dill plants 2–3 times a week during their growing season.
During the hottest summer days, it may be necessary to water more often in order to prevent drought stress. Be sure not to over-water as this can cause root rot or fungal diseases. When in doubt, check the moisture of the soil with your finger before watering.
Does dill come back every year?
While dill does not come back from the same plant every year, new plants may sprout up in the spring due to self-sowing. This means that as the flowers dry and drop their seeds on the ground around them, they have the potential to take root and grow into a new dill plant each season.
Additionally, you can save some of the dill’s flower seed heads for replanting or collecting if you want more of this fragrant herb in your garden.
With its fast growth rate, beginning dill growers will be pleased to discover that this cheerful herb produces its first harvest within 50 days.
How long does a dill plant last?
Dill is a short-lived biennial herb, meaning that it only lives two years. In its first year, dill will produce foliage and flowers, but not set seed. The second year is when the plant flowers again and produces seeds.
After the second flowering season, the dill plant dies off. To ensure an ongoing supply of dill, it’s best to replant after the second year so that you can continue harvesting leaves and seeds during subsequent growing seasons.
It’s important to note that while dill plants are sensitive to light-frost, they can survive mild winters in warmer climates if grown in containers and brought indoors when temperatures drop.
How do you pick dill without killing plants?
When picking dill without killing the plant, it is important to take only what you need and leave some for the plant to keep growing. Start by cutting the stems at least 2 inches above soil level, making sure not to damage any other parts of the plant.
Clip off a few leaves from each stem using scissors or your hands, but be sure not to pull them off, as this can damage the plant. When harvesting larger plants such as dill, use caution so that you don’t harm nearby stems or roots.
Finally, discard any leaves that are discolored or wilted in order to ensure that your harvest is fresh and healthy.
Related Post: 61 Fun Facts About Dill (with Photos, ID & Info)