How To Grow Herbs Inside During The Winter (Grow Guide)

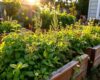
Culinary herbs have a significant effect in the kitchen. So when the weather is really nice outside, having them grow in your yard or pots on the porch is simple and fun. For a significant number of us, winter makes up 5-6 months of the year.
Winter’s unforgiving temperatures, ice, and snow may cause it to appear to be a difficult scene for developing plants. With a little help, you can keep growing herbs all through the coldest period of the year.
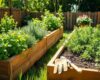
Indoor herb gardens have become increasingly more famous as individuals have understood the delightfulness that herbs bring to the table for their home cooking. Herbs are anything but difficult to grow inside once you get the hang of cultivating inside. So you can procure your indoor green thumb, here’s a simple how-to
For quite a long time, I’ve been growing herbs to use in cooking, tea, and many different things. I love being able to just walk over to a pot of basil, and cut what I need to. Luckily, growing herbs all year for new users is simple. Simply follow these seven essential steps, and it won’t be long before you develop the skill to grow your own herbs in winter as well.
Table of Contents
Pick the correct area.
Basil, chives, mints, and parsley do pleasantly in pots. It may astound you to realize that you don’t require much direct daylight. Usually indirect light is sufficient enough.
Purchase the correct soil and pot
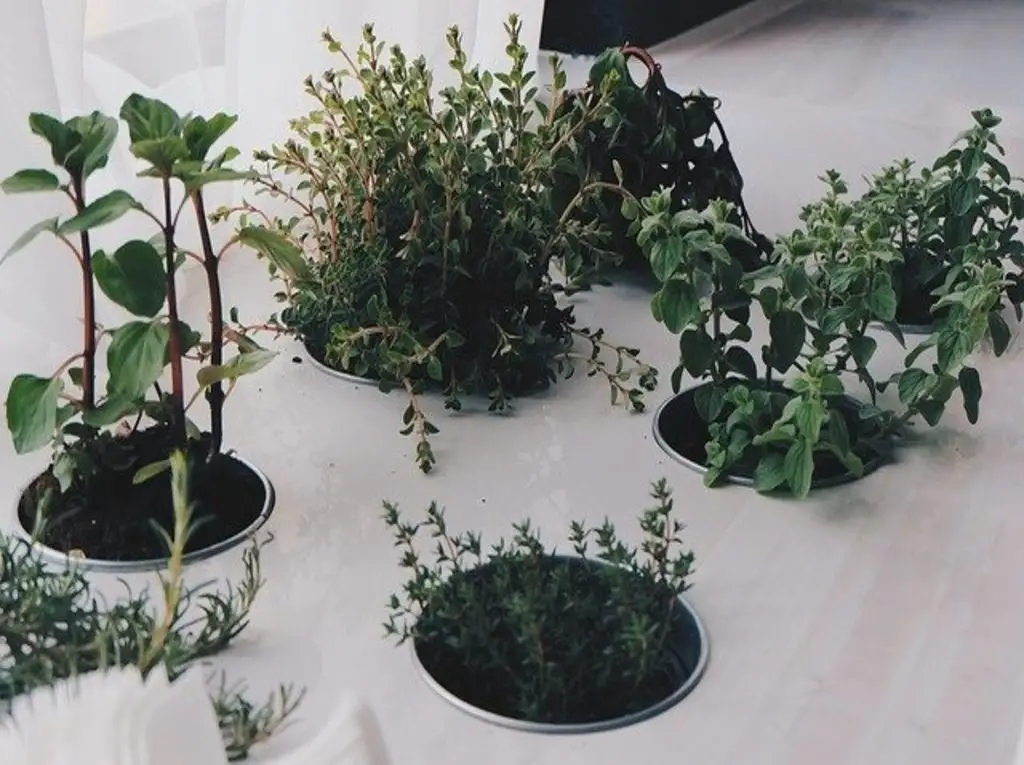
After you make sense of your area, it’s an ideal opportunity to pot up your herbs. The easiest way to start growing herbs is with starter plants. I lean toward growing my plants in dirt earthenware or unglazed fired pots or planters. I currently use these planters from LA JOLIE MUSE Flower Pot Garden Planters. These planters are perfect for indoor and are able to withstand any harsh weather. You can find these on planters on Amazon.
Regular fiber pots produced using rice, wheat, coir, or reused paper are likewise acceptable decisions. Its best to use clay pots for herbs because they tend to hold water longer than the plastic varieties.
It is very important to select the best soil for your herbs. I like to use a high quality soil like the Professional Grower Mix Soil. I get nothing but good results using this soil. I find that I get the best deal on Amazon. This is a decent spot to spend some extra money if you can.
Purchase soil that does not clump when you grab hold of a bunch. You should not be able to compress the soil into a tight ball when you squeeze it.
Never use low quality soil. Low quality soil can turn hard like a rock around the roots preventing the roots from developing. In case you’re uncertain what soil is ideal, the nursery staff can help direct you.
Plant in loose soil
When you are prepared to plant. First start by filling the pot with soil. Do not press the soil down. Before planting, water the soil altogether with the goal that it is uniformly damp.
Slowly pull out the starter herb plant from its pot and delicately release the soil around the base inch of roots. Now dig up a hole big enough for your plant and place it inside the hole.
Cautiously fill the soil back around the roots without compacting it. You can now give the plant water. Be careful not to overwater it.
Chives

If you develop just a single herb inside over winter, why shouldn’t it be chives. The gentle onion taste praises numerous dishes of various cooking styles from breakfast to supper.
Sunlight: Chives needs about 4 to 6 hours a day.
Temperature: Normal temperature that might changes from 13-24°C (55-75°F).
Soil: Potting soil that contains a nice mix of organic ingredients. Make sure it’s a light soil that drains well such as sandy loam.
Water: Two times in every week, when you come to realize that the surface looks dry.
The tips of shrubbery will turn into yellow if the plant is excessively dry.
Collect: When the plant is 15 cm or 6 inches long, cut leaves varying, leaving in any event 5 cm or 2 inches of development over the dirt. The plant will keep on developing.
Oregano

It is a principal in our family and we use it for pizza toppings and Italian recipes.
Sunlight: Oregano needs about 6 to 8 hours.
Temperature: Normal temperature that can have variance of 13-24°C (55-75°F).
Soil: Potting soil that contains a nice mix of organic ingredients. Make sure it’s a light soil that drains well such as sandy loam.
Water: usually, water once in a week and when the surface feels dry. This herb is vulnerable to root spoil, so please do not over water it.
Collect: When the plant is 15 cm or 6 inches in length, cut stems
Rosemary
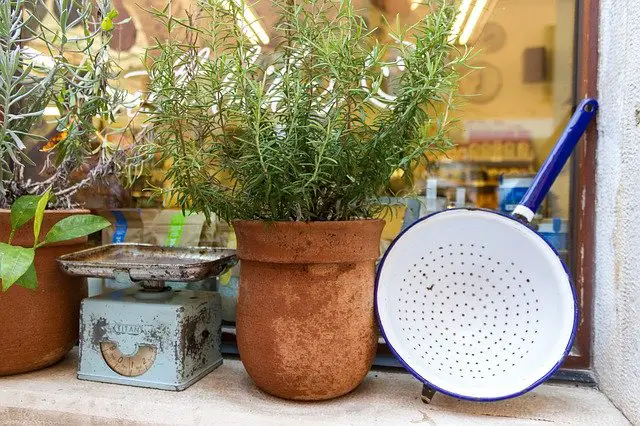
Growing a rosemary plant in a pot. Bring them inside during the season of winter.
Sunlight: At any rate, around 6 hours.
Temperature: Normal room temperature that can change from 7-21°C (45-70°F) in winter.
Soil: Potting soil that contains a nice mix of organic ingredients. Make sure it’s a light soil that drains well such as sandy loam.
Water: Permit top hardly any crawls of clay to dry out between watering at that point water altogether.
Collect: When the plant is 6 inches (15 cm) tall, cut stems varying.
Rosemary grows gradually, so do not reap in excess of 1/3 of the plant at once.
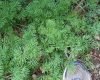
Thyme
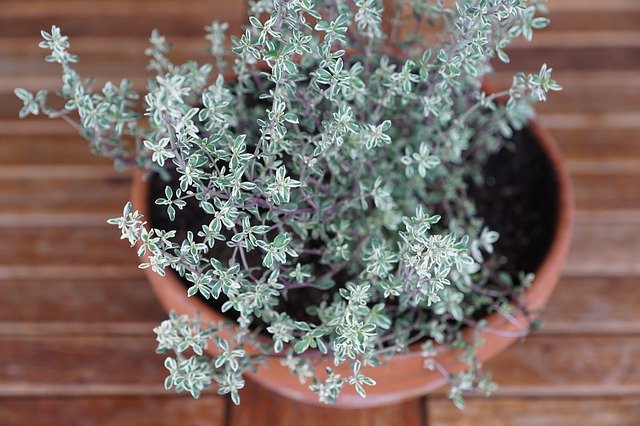
People use thyme in winter in simmering pot dishes and stews.
Sunlight: Thyme normally needs 6 to 7 hours.
Temperature: Normal temperature is around 10-24°C (50-75°F).
Soil: Potting soil that contains a nice mix of organic ingredients. Make sure it’s a light soil that drains well such as sandy loam.
Water: Permit top 2.54 cm or 1-inch of clay to dry out between watering at that point water carefully. When built up, thyme is dry spell safe.
Collect: When the plant is set up, cut foliage varying, leaving 3-inch long stems to keep it growing.
Parsley
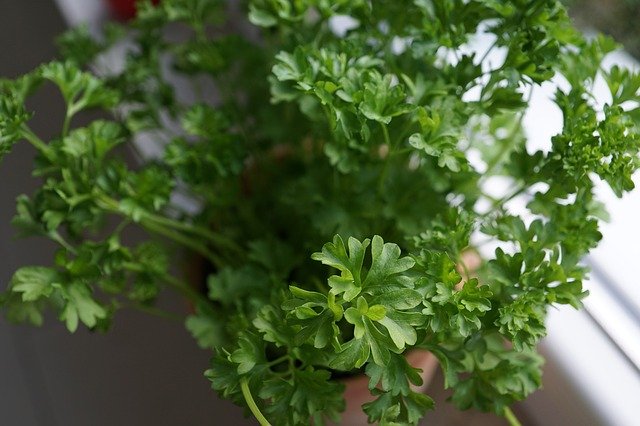
Parsley adds an eruption of flavor to numerous dishes, including vegetables, broils, chicken, steaks, fish, and barbecued.
Sunlight: At any rate, about 6 hours.
Temperature: Normal temperature around 13-24°C (55-75°F).
Soil: Potting soil that contains a nice mix of organic ingredients. Make sure it’s a light soil that drains well such as sandy loam.
Water: Two times per week, or on the dryness of soil.
Collect: When you have set up the plant, cut stems from base leaving 2-inch stems to keep growing.
On the off chance that you start your indoor herb shrubbery in fall, start off with starter plants and keep them growing inside over the winter. You will see quicker results. Starting plants from seeds needs more time and consideration before the herbs can collected and utilized.
If you have plants in your house, it is a smart thought to isolate any plants got from your nursery for some time to make sure there are no drifters, for example, irritations or illness. Leave these in a different space for half a month to make sure there are no curveballs.
Engendering herbs from cuttings is a speedy method to set up a plant. What we do is cut off a 5-inch part of stem, peel off some leaves, place the stem in a jar of water from the root side.
You will want to pay attention to the cutting on a daily basis. Once you see that roots are forming, you will want to transfer them into containers or pots with the proper soil, so they can start to grow.