How to Grow Sage at Home? A Complete Grower’s Guide!
Mastering how to grow sage allows you to cultivate a resilient, highly aromatic culinary staple right in your home garden. This woody perennial thrives in arid conditions and provides rich, savory foliage year after year with minimal maintenance.
Whether you choose to plant in raised beds or patio containers, establishing proper cultural conditions ensures vigorous vegetative growth. Following a precise horticultural approach will yield healthy, robust plants and an abundant supply of fresh kitchen herbs.
Variety Selection and Core Differences
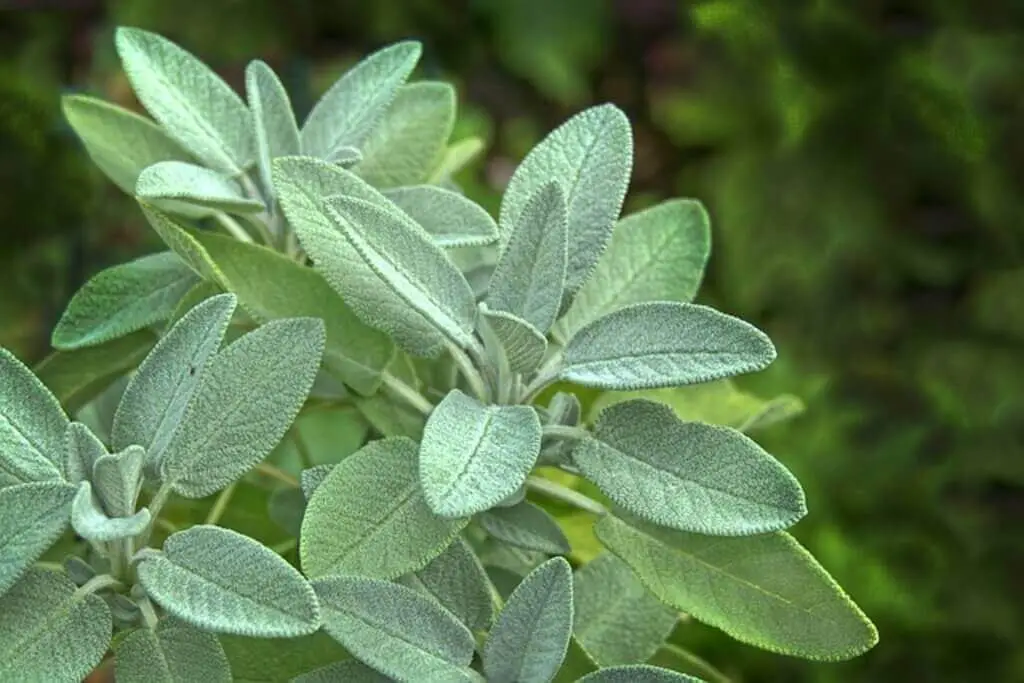
Choosing the right cultivar determines your culinary success and garden resilience. Common culinary sage (Salvia officinalis) remains the standard for robust, savory flavor in traditional cooking. Broadleaf varieties like Berggarten produce large leaves without going to seed rapidly, while ornamental selections like Tricolor and Purpurascens offer distinctive foliage color alongside mild flavor profiles.
A common gardening myth claims that letting culinary sage flower will permanently ruin the flavor of the entire plant. In reality, flowering slightly reduces vegetative vigor as the plant shifts energy, but the leaves remain completely safe and flavorful to consume.
Understanding the specific attributes of each popular variety allows you to select the best fit for your climate:
- Culinary Common Sage: Traditional gray-green foliage with high essential oil concentration and strong cold hardiness.
- Berggarten Sage: Compact growth habit with broad, rounded leaves that rarely blooms, maximizing seasonal leaf yield.
- Purple Sage: Striking violet-tinted young foliage that contains slightly softer culinary tones.
- Tricolor Sage: Variegated white, green, and pink leaves best suited for mixed container displays.
Location and Soil Setup
Sage requires a minimum of six to eight hours of unfiltered, direct sunlight daily to synthesize its essential oils. Insufficient light results in leggy stems, weak aroma, and heightened susceptibility to fungal pathogens like powdery mildew.
Soil drainage is the single most critical factor for preventing root rot in Mediterranean herbs. If planting in outdoor ground beds, construct a sandy loam blueprint where compost or organic amendments never exceed 40 percent of total soil volume.
For container cultivation, you must strictly avoid native garden soil or heavy loam because they compact and choke root zones. Utilize a loose, high-porosity soilless potting mix amended with inorganic drainage materials:
- Soilless Peat or Coir Base: 50 percent total volume for moisture retention without density.
- Horticultural Perlite or Pumice: 30 percent total volume to maintain root aeration.
- Coarse Horticultural Sand: 20 percent total volume to facilitate rapid drainage.
- Target Soil Chemistry: A balanced pH range maintained between 6.0 and 7.0.
If you cultivate sage near related invasive herbs like spearmint, never rely on bottomless underground barriers. Invasive rhizomes dive under open barriers within two seasons, so aggressive companions must remain isolated in fully intact containers with bottom drainage holes.
Spacing and Planting Guidelines
Mature sage bushes develop broad, woody frameworks that require adequate air circulation. Position individual plants 24 to 30 inches apart to prevent humidity buildup and foliage disease.
Unlike small, light-triggered seeds like basil or chamomile that require surface sowing, sage seeds require a true burial depth of one-quarter inch. Seeds can take up to four weeks to germinate, making stem cuttings or layering more dependable propagation routes.
An effective backyard hack for rapid propagation is tip layering directly in the garden bed. Make a shallow scrape on the underside of a low-hanging stem, pin it into the ground with a landscape staple, and cover it with soil until roots develop.
Implement these structural propagation parameters for reliable garden establishment:
- Seed Sowing Depth: Plant seeds exactly one-quarter inch deep in sterile seed-starting media.
- Germination Soil Temperature: Maintain a constant root zone temperature between 65 and 70 degrees Fahrenheit.
- Stem Cutting Length: Harvest three to four inches of semi-hardwood tip growth in early spring.
- Rooting Timeline: Allow four to six weeks in a sterile, moist rooting medium before potting up.
Watering and Nutritional Protocols
Sage is uniquely adapted to drought-prone environments and quickly suffers in waterlogged conditions. Young transplants require consistent moisture during their initial four weeks of root establishment.
Once established, adopt a thorough soak-and-dry irrigation cycle. Allow the top two inches of soil to dry out completely before applying water directly at the base of the plant.
Excessive fertilization ruins culinary quality by diluting the volatile oils responsible for flavor. Avoid synthetic high-nitrogen fertilizers, which stimulate weak growth and invite pests like spittlebugs, thrips, and spider mites.
Monitor your plants regularly and manage pest pressures with targeted, low-impact interventions:
- Watering Frequency: Irrigate deeply once every seven to ten days during dry summer stretches.
- Fertilizer Application: Apply a single top-dressing of aged compost in early spring with zero supplemental chemical feeding.
- Insecticidal Soap Treatment: Spray soap diluted in water at five-day intervals to eliminate sap-sucking thrips and mites.
- Cultural Foliage Care: Water exclusively at ground level during early morning hours to keep foliage dry.
Harvesting and Storage
Begin harvesting leaves in the plant’s second year once the shrub has established a robust root system. Snip individual leaves or clip entire stem tips, always leaving at least two sets of active leaves on each stem to fuel subsequent growth.
Never cut into the old, woody base of the plant during harvest, as woody stems lack active buds and will not regenerate. Cease heavy harvesting approximately six weeks before the first autumn frost to protect the plant from winter damage.
Food safety sanitation is essential when preparing fresh herbs for culinary preservation. Always thoroughly wash your harvested leaves in clean water and dry them completely using a salad spinner or paper towels to eliminate soil-borne bacteria.
Preserve your sanitized harvest using one of these reliable storage methods:
- Oil Flash-Freezing: Chop dry leaves, submerge them in extra-virgin olive oil inside silicone trays, and freeze into cooking cubes.
- Screen Air-Drying: Lay single layers of clean leaves on mesh drying screens in a dark, ventilated room for ten days.
- Dehydrator Processing: Run an electric food dehydrator between 95 and 115 degrees Fahrenheit until leaves crumble cleanly.
- Airtight Storage: Seal fully dried whole leaves in amber glass jars away from direct heat and light.