How to Grow Chamomile Plants: Complete Grower’s Guide!

Want to grow your own calming cup of chamomile tea? Learning how to grow chamomile plants is easier than you might think, even if you’re new to gardening. All it takes is a sunny spot, well-draining soil, and the right seeds to enjoy a thriving patch of this fragrant herb at home. With just a little care, you’ll be harvesting blooms in no time.
Table of Contents
- 1 What Is Chamomile? Types and Uses
- 2 Why Grow Chamomile from Seed?
- 3 Step 1: Choosing the Right Chamomile Seeds
- 4 Step 2: Preparing to Plant Chamomile
- 5 Step 3: Sowing Chamomile Seeds
- 6 Step 4: Caring for Chamomile Seedlings
- 7 Step 5: Growing On-Watering, Feeding, and Maintenance
- 8 Step 6: Harvesting Chamomile Flowers
- 9 Step 7: Troubleshooting and Common Issues
- 10 Step 8: Propagating and Saving Seeds
- 11 Expert Tips for Success
- 12 Frequently Asked Questions
- 13 Conclusion
- 14 Author
What Is Chamomile? Types and Uses
Chamomile is a term that refers to a group of aromatic, flowering plants prized for their soothing properties and versatility. The two most commonly grown varieties are:
- German Chamomile (Matricaria recutita): This annual species grows upright and is renowned for producing masses of small, fragrant flowers ideal for making herbal teas and infusions. Its robust growth habit makes it a favorite among home gardeners who want a reliable, productive plant each season.
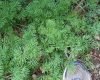
- Roman Chamomile (Chamaemelum nobile): Unlike its German cousin, Roman chamomile is a perennial that forms a low, spreading mat of finely divided, aromatic foliage. It’s often used as a fragrant ground cover, for creating soft, walkable lawns, or as a decorative edging plant. Roman chamomile also produces flowers suitable for tea, though its flavor is slightly more bitter.
Both types of chamomile are valued not only for their culinary and medicinal uses but also for their ability to attract beneficial insects, making them excellent companions in vegetable and flower gardens.
Why Grow Chamomile from Seed?
Starting chamomile from seed offers unique advantages that appeal to both novice and experienced gardeners. For one, it’s an economical way to grow a large number of plants, as seed packets are far more affordable than purchasing multiple nursery starts. Sowing from seed also gives you access to a broader range of cultivars, including rare or heirloom varieties that may not be available as transplants.
Additionally, growing from seed allows you to control every aspect of your plant’s environment from the very beginning, ensuring strong, healthy growth and reducing the risk of introducing pests or diseases from outside sources. Watching your chamomile progress from tiny seeds to lush, flowering plants is a deeply rewarding experience that connects you to the rhythms of nature.
Step 1: Choosing the Right Chamomile Seeds
Selecting the right seeds is the foundation of a successful chamomile crop. First, decide which species best fits your needs: German chamomile is ideal if you want a prolific annual for tea, while Roman chamomile is better suited for those seeking a perennial ground cover or ornamental plant. When purchasing seeds, always opt for reputable suppliers who offer fresh, high-quality seeds-preferably organic and non-GMO-to ensure vigorous, healthy plants.
Take care to check the botanical name on the packet, as both types are sometimes labeled simply as “chamomile,” which can lead to confusion. Reading product descriptions and reviews can help you avoid mix-ups and select seeds that match your gardening goals. Looking to get started? You can find trusted sources for both German and Roman chamomile seeds on Amazon, perfect for beginners and seasoned growers alike.
Step 2: Preparing to Plant Chamomile
Soil and Site Requirements
Chamomile thrives in conditions that mimic its native habitat-open meadows and sunny hillsides. Choose a planting site that receives at least six hours of direct sunlight each day; while chamomile can tolerate partial shade, full sun yields the most robust plants and abundant blooms. The soil should be light, sandy, or loamy, with excellent drainage to prevent root rot. Aim for a neutral to slightly acidic pH, ideally between 5.6 and 7.5.
Before planting, work in plenty of organic matter such as compost or well-rotted manure to boost fertility and improve soil texture. Avoid heavy clay soils or spots where water tends to collect, as chamomile’s roots dislike soggy conditions. Need a ready-to-use soil mix that checks all the boxes? FoxFarm’s organic potting soils on Amazon are a favorite among herb gardeners for their excellent drainage and nutrient-rich blend.
Step 3: Sowing Chamomile Seeds
When to Sow
Timing your sowing is crucial for healthy chamomile growth. If you want an early start, sow seeds indoors 6–10 weeks before your region’s last expected frost date. This gives seedlings a head start, ensuring earlier blooms and a longer harvest period. For direct sowing outdoors, wait until the soil has warmed to at least 7°C (45°F) and all danger of frost has passed. Chamomile seeds are tiny and sensitive to environmental conditions, so patience and careful timing will reward you with strong, resilient plants.
How to Sow Indoors
Begin by filling seed trays or small pots with a fine, well-draining seed-starting mix. Scatter chamomile seeds evenly across the surface-they require light to germinate, so do not bury them deeply. Instead, gently press the seeds into the soil or cover them with a barely-there layer of vermiculite. Mist the surface with water to keep it moist but not soggy. Place the trays in a warm, bright location, such as a sunny windowsill or under grow lights, maintaining a temperature of 65–70°F (18–21°C). Consistent moisture and warmth will encourage germination, which typically occurs within 7–14 days.
How to Sow Outdoors
Prepare your garden bed by loosening the top few inches of soil and removing any weeds or debris. Sprinkle chamomile seeds thinly and evenly across the surface, pressing them in gently with your palm or a board. Cover with a very light dusting of soil or leave them exposed, as they need light to sprout. Water the area carefully using a fine spray to avoid washing the seeds away. Keep the soil consistently moist during the germination period, and be patient-outdoor seeds may take a bit longer to sprout, depending on weather conditions.
Step 4: Caring for Chamomile Seedlings
Thinning and Spacing
Once your chamomile seedlings develop two or three sets of true leaves, it’s time to thin them out. Crowded seedlings compete for light, water, and nutrients, leading to weak, spindly plants. Carefully remove the smallest or weakest seedlings, leaving the strongest spaced 6–12 inches (15–30 cm) apart. This spacing allows for good air circulation, reducing the risk of fungal diseases and ensuring each plant has room to grow to its full potential. Don’t discard the thinned seedlings-they can be gently transplanted elsewhere or even added to salads for a mild, herbal flavor.
Transplanting
If you started your seeds indoors, harden off the seedlings before moving them outside. Gradually acclimate them to outdoor conditions over a week by placing them outdoors for increasing periods each day, starting with a few hours in a sheltered spot and gradually exposing them to more sun and wind. Once the danger of frost has passed and seedlings are sturdy, transplant them into the garden, spacing as previously recommended. Water well after transplanting to help them settle in and reduce transplant shock.
Step 5: Growing On-Watering, Feeding, and Maintenance
Watering
Chamomile prefers evenly moist soil, especially during its early growth stages and in hot, dry weather. Water young plants regularly, ensuring the soil doesn’t dry out completely between waterings. As the plants mature, they become more drought-tolerant, but a deep watering during prolonged dry spells will keep them healthy and productive. Be cautious not to overwater, as chamomile dislikes soggy roots. If growing in containers, check soil moisture frequently, as pots dry out more quickly than garden beds.
Feeding
Chamomile is a light feeder and generally thrives in moderately fertile soils without the need for heavy fertilization. If your soil is particularly poor, consider applying a diluted organic fertilizer or compost tea once or twice during the growing season to provide a gentle nutrient boost. Avoid high-nitrogen fertilizers, which can promote lush foliage at the expense of flowers. Instead, focus on building healthy soil with organic matter for sustained, balanced growth.
Weeding and Mulching
Weeds can quickly outcompete young chamomile seedlings for water and nutrients, so keep the area around your plants weed-free, especially during the first few weeks after planting. Applying a thin layer of organic mulch, such as straw or shredded leaves, helps retain soil moisture, suppresses weed growth, and keeps the root zone cool. As chamomile matures and fills in, it naturally shades out many weeds, making maintenance easier.
Pruning and Deadheading
Regularly pinching back the growing tips of your chamomile plants when they reach about 6 inches (15 cm) tall encourages bushier, more compact growth and increases flower production. Throughout the blooming season, deadhead spent flowers by snipping them off with scissors or pinching them away with your fingers. This simple practice not only keeps the plants looking tidy but also stimulates the production of new buds, extending the flowering period and maximizing your harvest.
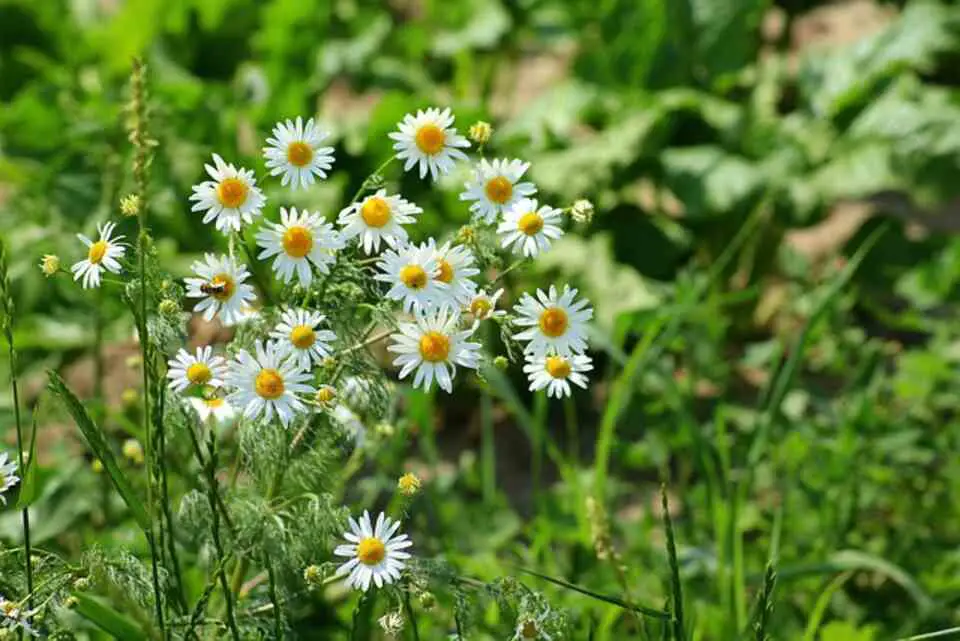
Step 6: Harvesting Chamomile Flowers
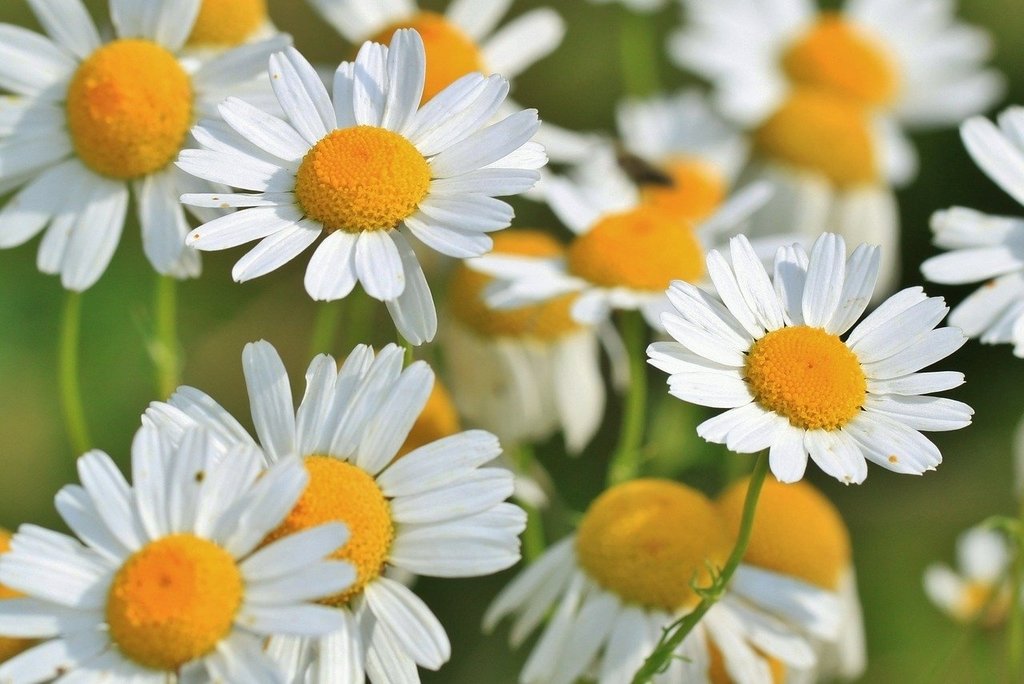
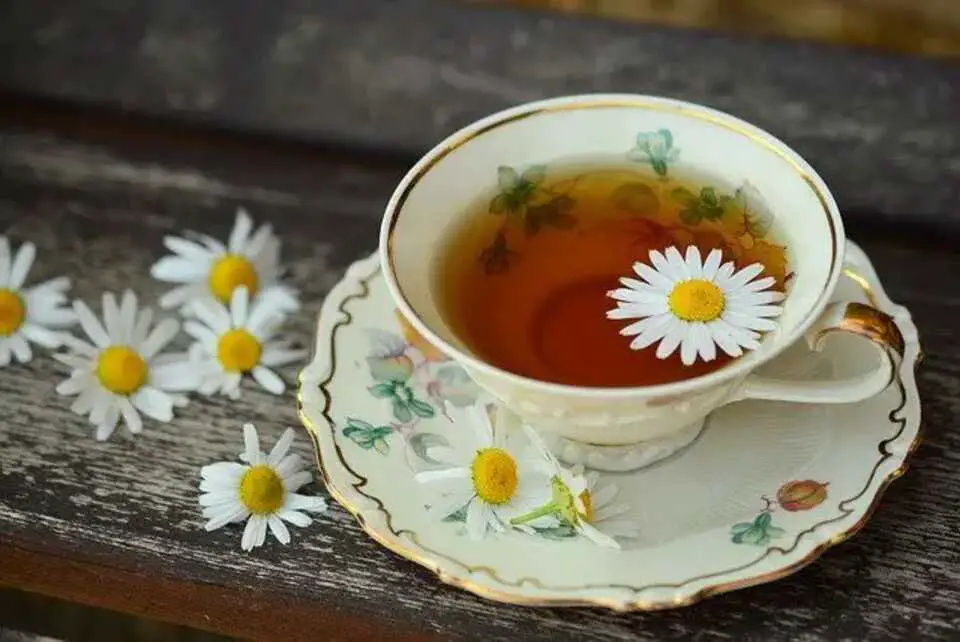
Chamomile flowers are at their most fragrant and flavorful when harvested at the right stage. Wait until the white petals begin to curve backward and the centers are golden and full-this is when the essential oils are most concentrated. To harvest, gently pluck the flower heads from the stems, taking care not to crush or bruise them. For larger harvests, you can use a small rake or your fingers to comb through the plants and collect multiple flowers at once. Spread the flowers out in a single layer on a screen or paper towel in a warm, dark, well-ventilated area to dry. Once fully dried, store them in an airtight container away from light and moisture to preserve their flavor and medicinal properties.
Step 7: Troubleshooting and Common Issues
Chamomile is generally a resilient, low-maintenance plant, but a few issues can occasionally arise. Slugs and snails may target young seedlings, especially in damp conditions-protect your plants with physical barriers or organic deterrents. Aphids can sometimes appear on new growth; a gentle spray of water or a solution of mild soap and water can help control infestations. Chamomile is fairly disease-resistant, but overly wet soil can lead to root rot or fungal problems, so always ensure good drainage and avoid overwatering. If your plants become leggy or sprawl excessively, trim them back to encourage bushier growth and prevent them from flopping over.
Step 8: Propagating and Saving Seeds
If you wish to continue growing chamomile year after year, saving your own seeds is both easy and rewarding. German chamomile, being an annual, will often self-seed if you leave some flowers to mature and drop their seeds naturally. To collect seeds, allow a few flower heads to fully dry on the plant, then gently rub them between your fingers to release the tiny seeds. Store them in a labeled envelope in a cool, dry place until the next planting season. Roman chamomile, as a perennial, can be propagated by division-simply dig up a mature clump in spring or fall, separate it into smaller sections, and replant them in your garden. This method is especially useful for maintaining non-seed varieties or expanding your chamomile patch.
Expert Tips for Success
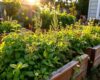
For the healthiest, most productive chamomile plants, consider rotating their location in your garden each year to prevent the buildup of soil-borne pests and diseases. Chamomile is an excellent companion plant, attracting pollinators like bees and beneficial insects that help control garden pests. Try interplanting chamomile with vegetables or other herbs to enhance your garden’s biodiversity and resilience. If space is limited, chamomile also grows beautifully in containers-just be sure to use a pot with good drainage and a quality, soil-based compost. Regularly check for signs of stress or pests, and address any issues promptly to keep your plants thriving all season long.
Frequently Asked Questions
Can I grow chamomile indoors year-round?
Absolutely! With ample sunlight-ideally from a south-facing window or supplemented by grow lights-chamomile can flourish indoors any time of year. Keep the soil consistently moist and provide good air circulation to prevent disease.
Is chamomile safe for pets and children?
Chamomile is generally considered safe for both pets and children, though it’s wise to supervise young children and introduce the herb gradually to check for any sensitivities. As with any plant, moderation is key, and avoid allowing pets to consume large quantities.
How long does it take chamomile to flower from seed?
Under optimal conditions, chamomile can begin flowering as soon as 8–10 weeks after sowing. Regular care and proper spacing will encourage earlier and more prolific blooms.
Conclusion
Growing chamomile from seed is a rewarding journey that transforms tiny, unassuming seeds into a lush patch of fragrant, daisy-like flowers. With careful preparation, attention to soil and site conditions, and consistent care, you’ll enjoy a steady supply of blossoms perfect for tea, herbal remedies, and pollinator-friendly gardens. Remember to choose the right species for your needs, provide plenty of sunlight, keep the soil moist but well-drained, and harvest flowers at their peak for the best flavor and aroma. By following this expanded guide, you’ll not only cultivate thriving chamomile plants but also deepen your connection to the natural world and the timeless traditions of herbal gardening. Happy growing!