How To Grow Milk Thistle? A Step-By-Step Beginner’s Guide
Are you ready to milk the benefits of a healthy liver and glowing skin? Then, get ready to learn how to grow milk thistle! This spiky plant has been used for centuries for its medicinal properties.
But fear not, growing milk thistle is no prickly business. In this article, we’ll give you the short answer and a step-by-step guide on how to grow this powerful plant. Keep reading to reap the rewards!
Table of Contents
- 1 What is Milk Thistle, and Why Should You Grow It?
- 2 Where to Find Milk Thistle Seeds
- 3 Preparing the Soil for Planting
- 4 Planting Milk Thistle: Step-by-Step Guide
- 5 Caring for Milk Thistle: Watering, Fertilizing, and Pruning
- 6 Common Pests and Disease Issues
- 7 When to Harvest Milk Thistle
- 8 How to Store Milk Thistle
- 9 Creative Uses for Fresh Milk Thistle
- 10 FAQs: How To Grow Milk Thistle
- 11 Conclusion: Growing Milk Thistle Is Rewarding and Fun!
- 12 Author
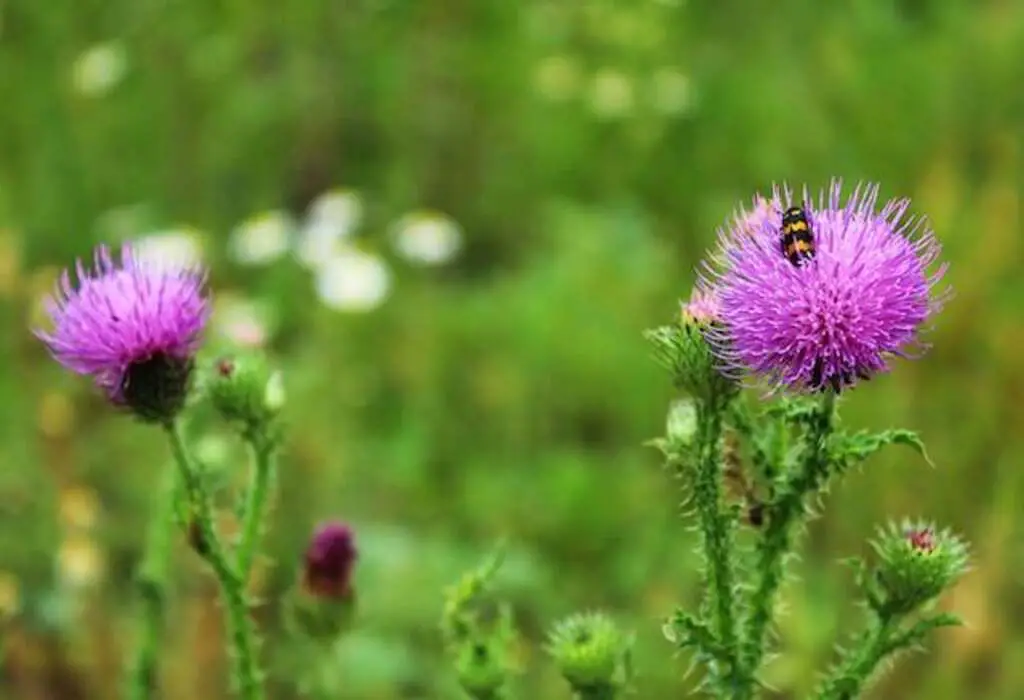
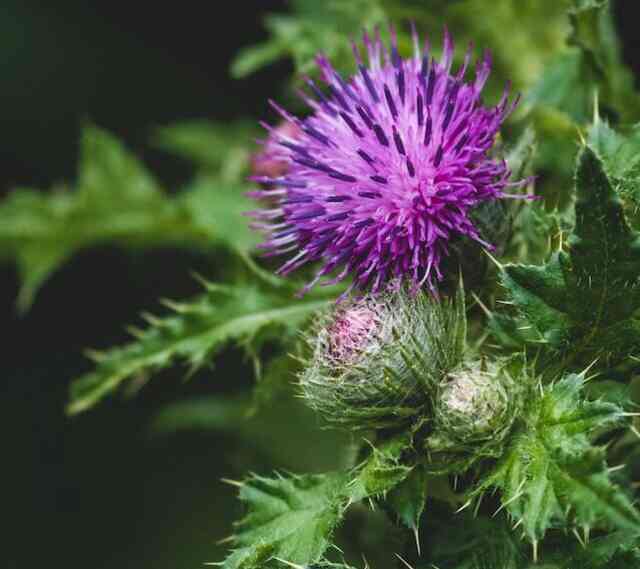
What is Milk Thistle, and Why Should You Grow It?
Milk thistle is a herbaceous plant with a long history of use in traditional medicine. It has a tall, spiny stem and bright purple flowers, and it’s easy to recognize when in bloom.
Milk thistle is packed with powerful antioxidants, making it a popular choice for those looking to boost their nutrition. But it’s also incredibly versatile in the kitchen, with a unique, nutty flavor that can enhance a variety of dishes.
Growing milk thistle is a rewarding and fun experience, and with this step-by-step guide, you’ll be able to cultivate your own in no time!
From finding the right seeds to harvesting and storing your crop, this guide will help you get the most out of your milk thistle.
So let’s get started and learn why you should start growing milk thistle today!
Where to Find Milk Thistle Seeds
If you’re looking to grow milk thistle, you’ll need to find some seeds first. Fortunately, finding milk thistle seeds is quite easy. You can purchase them from most nurseries or gardening stores, or you can buy them online from a variety of sources.
If you’re feeling adventurous, you can even try to find some of your own milk thistle seeds in the wild. Milk thistle is a fairly common plant, so you should have no problem finding some in uncultivated areas.
However, be sure to only take a few so that the wild population is not depleted. Once you’ve got your seeds, you’re ready to start planting!
Preparing the Soil for Planting
Preparing the soil for planting is an important step in growing Milk Thistle. Before planting, you should make sure that your soil is well-draining, nutrient-rich, and not too acidic or alkaline.
To achieve this, it’s best to mix in plenty of compost and a balanced fertilizer. If the soil is especially dry, you can add some sand to help with drainage. To decrease the pH level of overly alkaline soil, you can add sulfur as a soil amendment.
Once your soil is prepared, you should till it to a depth of 12-15 inches. This will help the roots of your Milk Thistle penetrate deep into the soil and make sure they have plenty of nutrients to draw from.
After tilling, rake the soil to break up any large clumps and to level the surface. Now your soil is ready for planting Milk Thistle!
| Steps | Actions |
|---|---|
| 1. | Ensure soil is well-draining, nutrient-rich, and balanced pH |
| 2. | Mix in compost and balanced fertilizer |
| 3. | Add sand if soil is dry or sulfur if soil is too alkaline |
| 4. | Till soil to a depth of 12-15 inches for root penetration |
| 5. | Rake soil to break up clumps and level surface |
| 6. | Soil is ready for Milk Thistle planting |
Planting Milk Thistle: Step-by-Step Guide
Planting milk thistle is a rewarding experience and doesn’t have to be difficult. Let’s get started with a step-by-step guide.
First, you’ll need to gather your supplies: Milk thistle seeds, potting soil, and a pot or container. If you are planting outdoors, you’ll also need a trowel or spade.
Next, fill your pot or container with soil, leaving a few inches at the top. The soil should be light and well-draining, so it’s a good idea to mix in some compost. If you are planting outdoors, be sure to choose a spot in your garden that gets plenty of sunlight.
After preparing your soil, it is now the perfect time to sow your milk thistle seeds. Place the seeds directly onto the soil and cover them with a thin layer. It’s important to leave a gap of approximately two inches between each seed when planting. Then, lightly water the soil with a gentle spray.
Now that your seeds are in the ground, it’s time to wait for them to sprout. Depending on the temperature and humidity, it could take anywhere from a few days to a few weeks for the seeds to germinate.
Once your milk thistle seeds have sprouted, you’ll need to ensure they receive adequate water and sunlight. Water them regularly, but be careful not to overwater, as this can cause the seedlings to rot.
Place them in a sunny location, preferably receiving at least six hours of sunlight per day. As they grow, you may need to thin them out to allow adequate space for each plant to grow.
With patience and care, your milk thistle seeds will develop into healthy and thriving plants, ready for harvest in a few months.
| Step | Instructions |
|---|---|
| 1 | Gather supplies: milk thistle seeds, potting soil, and a pot or container. |
| 2 | Fill the pot/container with well-draining soil mixed with compost. Choose a sunny spot if planting outdoors. |
| 3 | Place seeds directly onto soil, spaced two inches apart, and cover with a thin layer of soil. |
| 4 | Lightly water the soil with a gentle spray. |
| 5 | Wait for seeds to sprout, which may take a few days to a few weeks. |
| 6 | Ensure seedlings receive adequate water and sunlight, not overwatering. |
| 7 | Place them in a sunny location, preferably receiving at least six hours of sunlight per day. |
| 8 | Thin out plants if necessary to provide adequate space for growth. |
| 9 | With patience and care, milk thistle seeds will develop into healthy plants ready for harvest in a few months. |
Caring for Milk Thistle: Watering, Fertilizing, and Pruning
Caring for milk thistle requires regular watering, fertilizing, and pruning. Watering milk thistle should be done on a regular basis to keep the soil moist but not soggy. One way to determine if the soil is still moist is by checking it with your finger. If it’s not, it’s time to water your milk thistle.
Fertilizing milk thistle should be done monthly with a balanced fertilizer, such as a 10-10-10 mix. It’s important to adhere to the application instructions on the fertilizer label to ensure proper usage.
Pruning milk thistle is an important step in its care. Pruning should be done after the plant has flowered to keep it from getting too tall or spreading too much.
Prune back the leaves and stems to the desired size and shape. Ensuring these practices will promote the plant’s health and vigor.
| Care | Description |
|---|---|
| Watering | Regularly water to keep the soil moist but not soggy. Check the soil with your finger to see if it needs watering. |
| Fertilizing | Apply a balanced fertilizer like a 10-10-10 mix once a month. Follow the instructions on the fertilizer label for proper application. |
| Pruning | Prune after the plant has flowered to keep it from getting too tall or spreading too much. Cut back the leaves and stems to the desired size and shape. |
Common Pests and Disease Issues
Pests and diseases can be a major issue when it comes to gardening, and milk thistle is no exception. Common pests that can affect milk thistle include aphids, thrips, and spider mites, which can all be treated with an insecticidal soap solution.
Additionally, you should watch out for slugs, snails, and caterpillars, which can feed on the plant and cause damage.
As far as diseases go, the most common ones to affect milk thistle are powdery mildew, rust, and leaf spot. All of these can be treated with a fungicidal spray.
However, it’s important to keep in mind that prevention is the best treatment, so be sure to practice good gardening habits, such as removing weeds, controlling pests, and keeping the soil moist, to help keep your milk thistle healthy.
| Issue | Treatment |
|---|---|
| Pests: Aphids, thrips, spider mites | Treat with insecticidal soap solution. |
| Pests: Slugs, snails, caterpillars | Watch out for and remove by hand. |
| Diseases: Powdery mildew, rust, leaf spot | Treat with a fungicidal spray. Prevention is the best treatment, so practice good gardening habits |
When to Harvest Milk Thistle
The exhilarating part of growing milk thistle is harvesting it, but timing is crucial. Enjoy the fruits of your labor by harvesting at the right time. Generally speaking, milk thistle is ready for harvesting when the spines on the leaves start to turn yellow.
This typically happens 4-6 months after planting. You should also check that the stem is sturdy and the leaves are firm. If the stem bends or the leaves are limp, it’s not quite ready yet.
Once the stem is ready, you can cut the stem at the base with a pair of garden sheers. Always take care when harvesting your milk thistle as the spines can be quite sharp. Enjoy your bounty!
| Aspect | Details |
|---|---|
| Timeframe | 4-6 months after planting |
| Indicators | Yellow spines on leaves |
| Stem and leaves | Sturdy stem and firm leaves |
| Harvesting | Cut stem at base with garden shears |
How to Store Milk Thistle
Once you’ve harvested your Milk Thistle, it’s time to store it for later use. The best way to store Milk Thistle is to dry it in a cool, dark place. To do this, spread the Milk Thistle out in a single layer on a screen or a baking sheet and place it in a well-ventilated area.
Leave it for a few days until it’s completely dry, then store it in an airtight container. This will keep it from spoiling and give you Milk Thistle that will last for months. You can also freeze Milk Thistle if you’d like to keep it for longer.
Simply blanch the Milk Thistle in boiling water for a few minutes, then plunge it into cold water to stop the cooking process. After it has cooled down, keep it in an airtight container and store it in the freezer. This will help preserve the nutrients and flavor of the Milk Thistle.
| Aspect | Details |
|---|---|
| Drying | Spread Milk Thistle in a single layer in a cool, dark, well-ventilated area |
| Storage | Store dried Milk Thistle in an airtight container |
| Freezing | Blanch Milk Thistle in boiling water, cool, store in airtight container in the freezer |
Creative Uses for Fresh Milk Thistle
Finding creative uses for fresh milk thistle can be a fun and rewarding experience. Milk thistle is a versatile plant, and can be used in a variety of ways. The leaves can be chopped and used in salads, or made into pesto or tea.
The vibrant purple flower heads can be used to decorate salads, or used to make dyes for fabrics or food. You can also dry the flower heads and use them in potpourris or sachets.
The seeds can be harvested and used to make thistle-infused oils, or thistle flour. Milk thistle is also thought to have medicinal properties, and can be consumed in teas, tinctures, or capsules.
There are many delicious and creative ways to use fresh milk thistle, so get creative and have fun with it!
| Aspect | Details |
|---|---|
| Leaves | Use in salads, make into pesto or tea |
| Flower Heads | Use as decoration in salads, make dyes for fabrics or food, use in potpourris or sachets |
| Seeds | Make thistle-infused oils or thistle flour |
| Medicinal Properties | Consume in teas, tinctures, or capsules |
FAQs: How To Grow Milk Thistle
How much sunlight does milk thistle need?
Milk thistle thrives in full sun, but it can also grow in partial shade. A minimum of six hours of direct sunlight is necessary for it to thrive.
What type of soil is best for milk thistle?
Milk thistle grows best in well-draining soil with a pH between 6.0 and 7.0. The plant is adaptable to various soil types such as loam, sand, and clay.
When is the best time to plant milk thistle?
The best time to plant milk thistle is in the spring after the last frost. However, it can also be planted in the fall in areas with mild winters.
How often should milk thistle be watered?
Milk thistle should be watered deeply once a week, or more frequently in hot, dry weather. It prefers evenly moist soil but can tolerate short periods of drought.
How long does it take for milk thistle to grow?
Milk thistle can take anywhere from 80 to 180 days to mature, depending on the variety and growing conditions. The plant typically reaches full maturity and produces seed within two years.
Conclusion: Growing Milk Thistle Is Rewarding and Fun!
Conclusion: Growing milk thistle is rewarding and fun! With the right preparation, you can have a healthy crop of this unique and versatile plant.
You can harvest fresh milk thistle for creative culinary uses, or use it as an herbal remedy for certain ailments. With a little bit of effort, you can enjoy the rewards of a lush and plentiful milk thistle crop!
Related Post: 9 Best Potting Soil For Growing Herbs – Indoors And Outdoors