
How to Grow Skullcap From Seed: Complete Care Guide
Growing your own skullcap plot transforms a basic garden bed into a high-yield sanctuary for a potent herbal nervine. Figuring out exactly how to grow skullcap from seed is the ultimate shortcut to bypassing elusive commercial suppliers and locking in a prolific supply of home-grown botanicals.
Success hinges on recognizing that separate species demand completely different reproductive needs. Aligning your setup with exact stratification timelines and light-sensitive surface sowing methods ensures your plants establish robust, deep root frameworks and rich aerial foliage.
Variety Selection and Core Differences
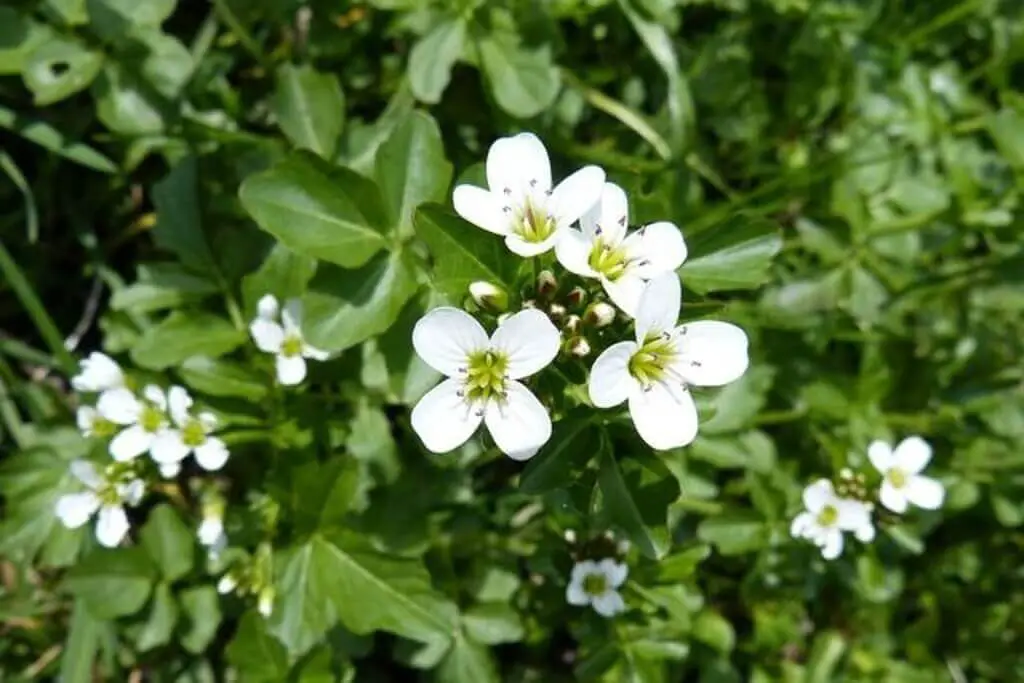
Gardeners must distinguish between American skullcap (Scutellaria lateriflora) and Chinese or Baikal skullcap (Scutellaria baicalensis). American skullcap is a moisture-loving wetland native cultivated specifically for its aerial leaves, stems, and delicate blue flowers. In contrast, Baikal skullcap is adapted to drier steppes, with herbalists harvesting its deep, flavonoid-rich taproot after three to four years of growth.
Selecting the correct cultivar determines your maintenance routine and end-use goals:
- American Skullcap (Scutellaria lateriflora): Thrives in damp conditions; harvested above ground for nervous system support.
- Baikal Skullcap (Scutellaria baicalensis): Requires arid, sharply draining soil; prized for anti-inflammatory root extracts.
- Hooded Skullcap (Scutellaria galericulata): Native marshland species; excellent for dedicated wetland or riparian restoration beds.
Location and Soil Setup
American skullcap thrives best in full sun to partial shade, requiring consistent moisture without sitting in stagnant, oxygen-deprived muck. For container gardening, you must use a loose, premium soilless potting mix composed of peat moss, perlite, and aged pine bark, strictly avoiding dense native topsoil.
If building an in-ground bed, integrate a mineral-rich sandy loam base where organic matter remains strictly calibrated. An ideal in-ground soil formula requires:
- 60 percent native sandy loam topsoil to maintain structural mineral density.
- 30 percent finished compost to deliver bioavailable nutrients.
- 10 percent coarse horticultural perlite or pumice to prevent soil compaction.
Never allow total organic soil amendments to exceed 40 percent of the overall planting volume. Excess organic matter in ground beds holds surplus water that invites root-rot pathogens.
Spacing and Planting Guidelines
A widespread horticultural myth claims skullcap seeds emerge rapidly in warm soil without preparation. In reality, skullcap seeds possess strong physiological dormancy that requires a mandatory 30-day cold, moist stratification period in your refrigerator before sowing.
Mix your seeds with damp sand inside a sealed baggie for one month before surface-sowing them onto moist media. Because skullcap seeds require light to trigger germination, press them firmly into the soil surface without burying them under dirt.
Space mature transplants 12 to 18 inches apart in rows spaced 24 inches apart. This intentional spacing facilitates adequate airflow around the dense crowns, preventing powdery mildew in humid summer months.
Watering and Nutritional Protocols
American skullcap evolved along stream banks and wetland margins, requiring consistently damp soil throughout the vegetative cycle. Deliver approximately one to two inches of water weekly; adjust delivery schedules if the top half-inch of soil feels dry.
Avoid overhead irrigation that wets the canopy during hot afternoons. Direct moisture straight to the soil level via drip lines or soaker hoses to keep foliage dry and fungal spores dormant.
Skullcap requires modest fertility rather than heavy feeding. Top-dress mature beds each spring with a half-inch layer of well-rotted compost, or apply a balanced, organic seaweed extract at half strength every four weeks during peak vegetative growth.
Harvesting and Storage
Harvest American skullcap aerial matter right as the plant enters early bloom, typically in mid-to-late summer. Use clean pruning shears to clip the top two-thirds of the stem, leaving at least three inches of growth above the crown so the plant can regenerate.
Food safety sanitation is essential before storing or processing this medicinal herb. Thoroughly wash the freshly cut stems in cold water and dry the leaves completely with a salad spinner or paper towels to eliminate lingering soil-borne bacteria.
Dry the clean stems in a dark, well-ventilated room out of direct sunlight on mesh drying screens at temperatures below 95 degrees Fahrenheit. Once the leaves snap crisply between your fingers, strip the foliage from the woody stems and seal the dried herb in airtight amber glass jars.