
How to Grow Mint From Cuttings: A Step-by-Step Guide

Mint is easy to grow, and is a good plant for a new gardener who wants to grow their own— which makes it one of the best plants for a beginning gardener. Growing your own from cuttings is easy.
Table of Contents
Introduction
Mint is one of my favorite herbs, and for a plant that you don’t eat a lot, it’s really quite fascinating. Cuttings of mint are one of the easiest, most practical methods for growing a mint plant in the home. Growing mint from cuttings is an easy way to extend the lifetime of your mint plants, and just about anyone can do it.
To grow mint from cuttings, simply take your cuttings in February or March, to go into the ground in time for summer.
Here’s how: Purchase a couple of small mint plants and use them as a guide for what kind of mint plant you’d like to try growing. Either the seedling that’s already formed, or a large leaf cut from another plant of the same species.
Cut one of the stems out of your mint plant and put it in a glass or plastic container with water. Keep it in a sunny location away from direct light and take it out once it begins to show signs of new growth.
What is a cutting?
Cuttings are simply pieces of root or shoots that you can take from a plant and grow new plants from. They have to be straight cut from the plant and must be placed in water for several days to grow.
As with other plants, cuttings can be root cuttings, shoots cut from the leafy portions of the plant, or flat leafed cuttings. They come in both male and female, so you don’t have to worry about cross pollination.
Supplies you need to grow mint from a cutting?
1. Scissors.
2. Paper Towel.
3. Glass jar, water, and the cuttings.
How to take a cutting?
Cut down the stem you want to take a cutting from. Make sure to do this in the morning, when the sun is still warm, or else you might get root rot.
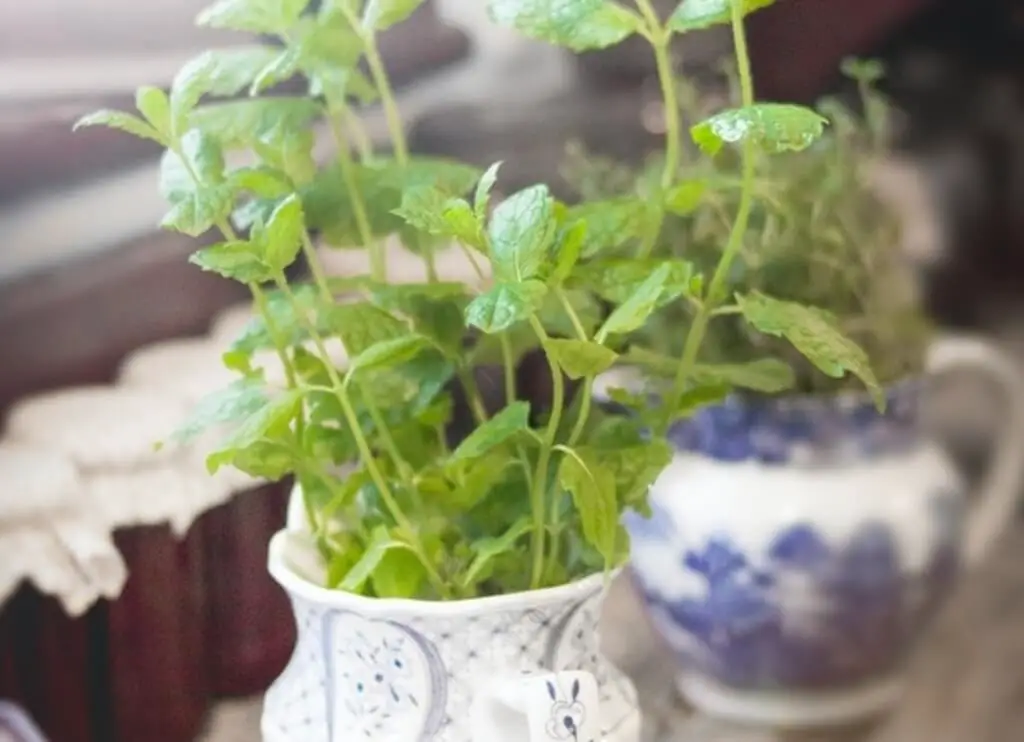
Place the stem in a jar or a tall glass with water.
Next place the pot on a sunny windowsill and make sure the glass is secure, and can’t fall over.
Make sure to keep your jar with the cutting on the sunny windowsill, but never on your kitchen counter or patio, as it can rot.
The stems will take root within a couple of weeks. Once a good root system has developed, the leaves will begin to take shape, and your stem is ready for planting.
Plant your cutting in the ground.
After that, you’ll have beautiful looking and tasting mint.
How to root cuttings?
Step 1. Cut off the top growth 10 cm (4.0″ in.) from the mint plant. Make sure you leave enough stem for new plant.
Step 2. Take your cuttings and dampen them in a glass of water.
Step 3. Wait for the root system to develop.
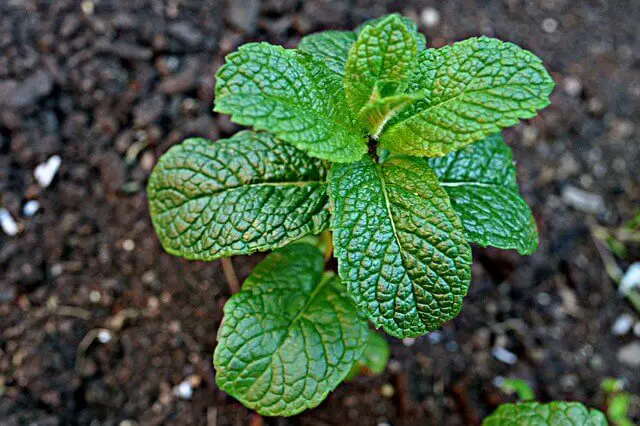
Where to plant mint
Mint is a spring or summer plant, and needs full sun and good drainage. It can tolerate some root disturbance. It will do well in a box, window box or hanging basket. Dig a hole slightly smaller than the size of the cutting, after letting the soil and the stem dry out a bit.
Place the cutting directly in the hole, trim back the stem as close as you can get to it, and fill the hole to the top with your favorite potting mix. Mint needs to be kept dry. Always pot it when it’s dry and store in a cool, dark place, and if possible, leave it for a few days before you water it.
Conclusion
Growing mint from cuttings will prove a simple and easy method for those who want to grow mint in their gardens and/or indoors. Unlike growing basil, it is much easier to grow mint from cuttings than to buy it from a grower.
As long as you know what to do and follow the instructions, this method will make it easy for you to grow mint indoors for your own use.